How to Build the Best Cheese Board
Looking to impress your guests with minimal effort? A cheese board is one of the easiest and most stunning ways to entertain—perfect for girls’ night, holiday parties, or a cozy evening at home. With just a few thoughtful additions, you’ll have a spread that’s both delicious and photo-worthy.
Here’s how to make a cheese board that’s equal parts effortless and elegant!
Why You’ll Love this Recipe
• Totally customizable – Choose your favorite cheeses, fruits, and snacks to fit any occasion.
• Visually stunning – With just a few simple tricks, you’ll have a board that’s worthy of a magazine spread.
• No cooking required – Just slice, style, and serve—minimal effort, maximum impact.
Here’s What You’ll Need for This
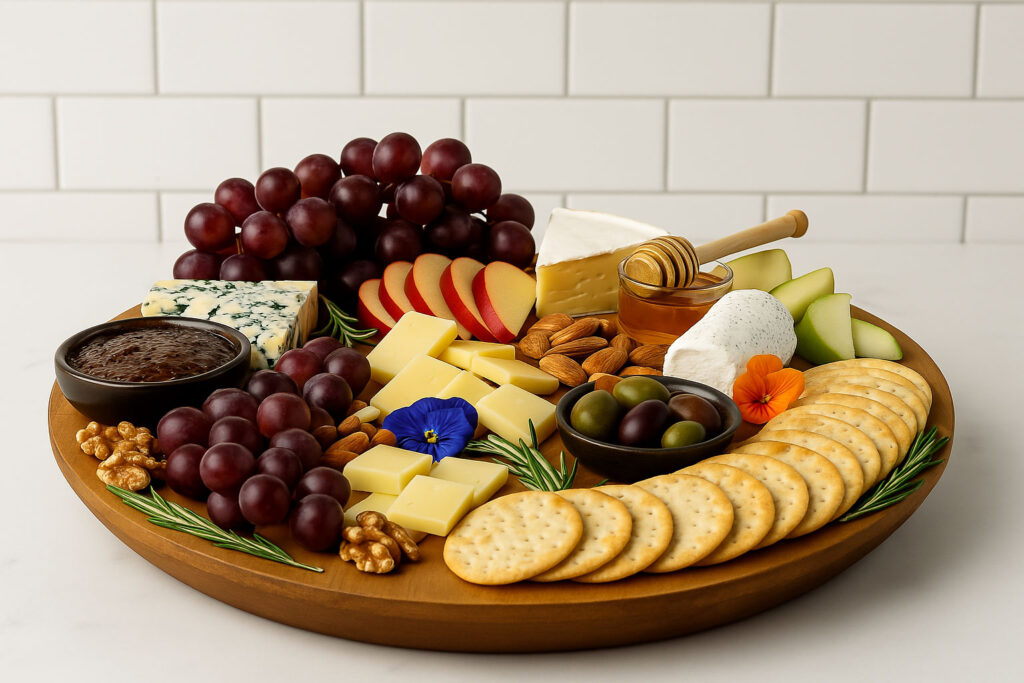
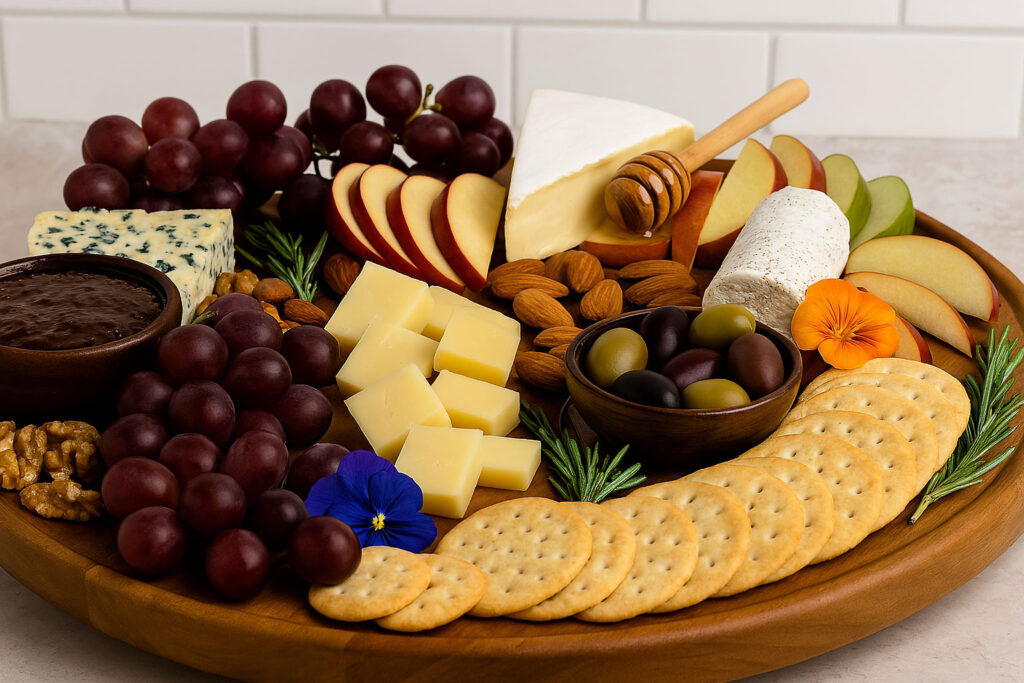
• To build the ultimate cheese board, you just need a few key components:
• Serving Essentials – A wooden or marble board and a few small cheese knives or spreaders.
• Cheeses – Choose 2–3 varieties like Brie, Cheddar, Goat Cheese, or Blue Cheese for flavor and texture contrast.
• Fresh Fruit – Grapes, sliced apples, pears, or dried fruits like figs and apricots.
• Crunchy Elements – Crackers, crostini, and nuts like almonds or walnuts.
• Sweet & Salty Add-ons – Think fig jam, honey, olives, or cornichons for a punch of flavor.
• Garnishes (Optional) – Fresh herbs, edible flowers, or seasonal touches to add color and charm.
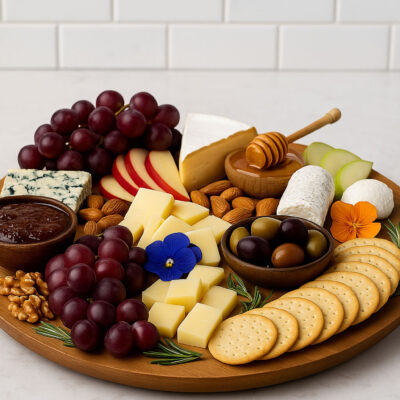
How to Build the Best Cheese Board: Beautiful, Simple, and Crowd-Pleasing
Looking to impress your guests with minimal effort? A cheese board is one of the easiest and most stunning ways to entertain—perfect for girls’ night, holiday parties, or a cozy evening at home. With just a few thoughtful additions, you’ll have a spread that’s both delicious and photo-worthy.
Here’s how to make a cheese board that’s equal parts effortless and elegant!
Tips & Flavor Twists:
Want to take it up a notch? Add a wedge of spicy pepper jack or a smear of truffle-infused honey. These unexpected flavors will keep your guests talking (and nibbling).
Tips for Success
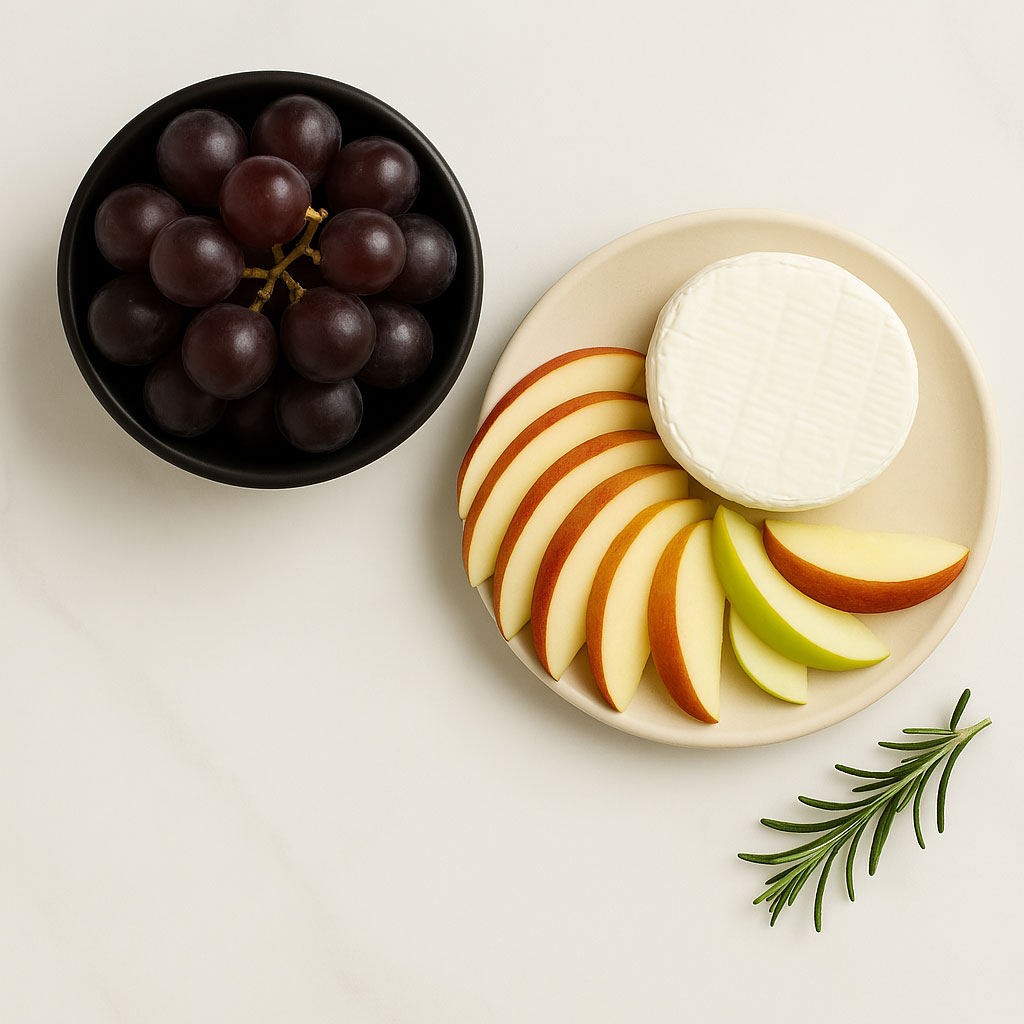
• Pre-slice firm cheeses so guests can grab and go.
• Wash and dry fresh fruit ahead of time so it’s ready to layer.
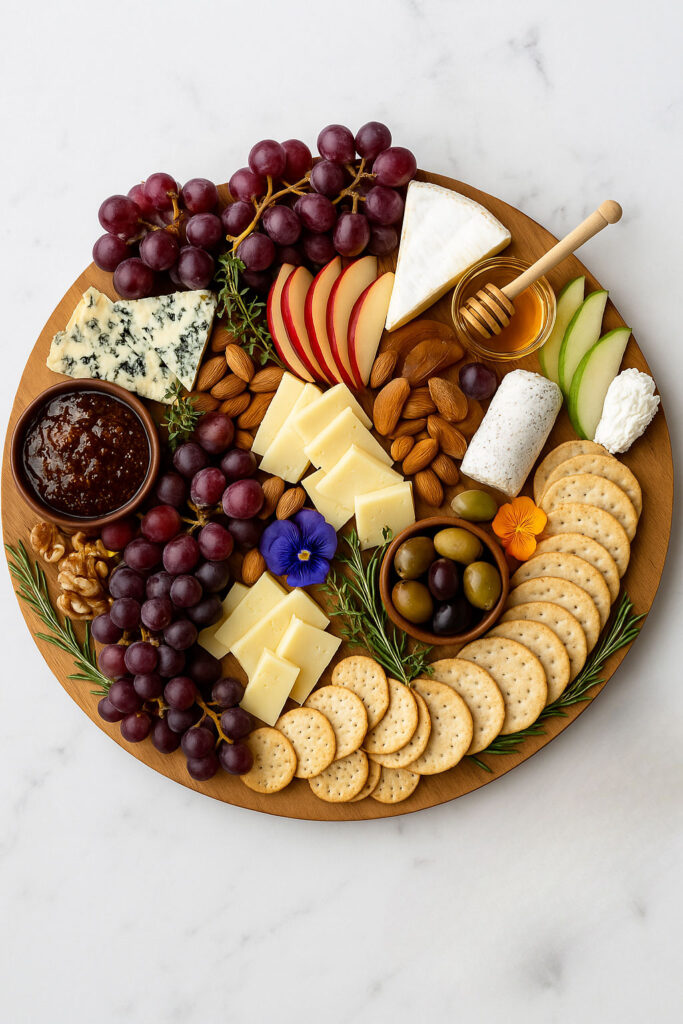
• Layer thoughtfully – Start with cheeses, then fill in gaps with crackers, fruit, and garnishes.
• Use herbs like rosemary or thyme to add color and a touch of fragrance.
• Let it feel abundant – A little mess makes it feel natural and inviting.
Make-Ahead & Storage
Make-Ahead Instructions:
You can pre-slice cheeses, wash fruit, and prep your board layout a few hours in advance. Assemble and cover loosely with plastic wrap until ready to serve.
Storing Leftovers:
Wrap individual cheeses tightly and store in the fridge. Fruit and nuts can be stored in containers for snacking later.
Final Thoughts
A cheese board is more than just food—it’s a conversation starter, a centerpiece, and a foolproof way to feed a crowd. Whether you’re hosting a big celebration or just treating yourself to a cozy night in, this guide will help you build a spread that’s easy, beautiful, and totally delicious.
Tried it? Let me know what your favorite cheese combo was—or what sweet and salty additions made your board a standout!
Cheese Board
Equipment
- Serving board Wood or Marble works excellent
- Small Cheese Knives
Ingredients
- Choose 2–3 cheeses and your favorite pairings from each category below.
- Cheeses 2–3 varieties:
- White Cheddar
- Gouda
- Brie
- Goat Cheese plain or herbed
- Manchego
- Blue Cheese optional
- Fruits:
- Red or green grapes
- Apple or pear slices
- Dried apricots or figs
- Crunchy Items:
- Crackers
- Crostini
- Candied or roasted nuts
- Sweet & Salty Add-ons:
- Fig jam or honey
- Olives
- Cornichons
- Garnish: Optional:
- Fresh rosemary or thyme
- Edible flowers
- Extras:
- Small cheese knives
- Wooden or marble serving board
Instructions
- Wash and slice fresh fruit; pat dry.
- Pre-slice firm cheeses for easy grabbing.
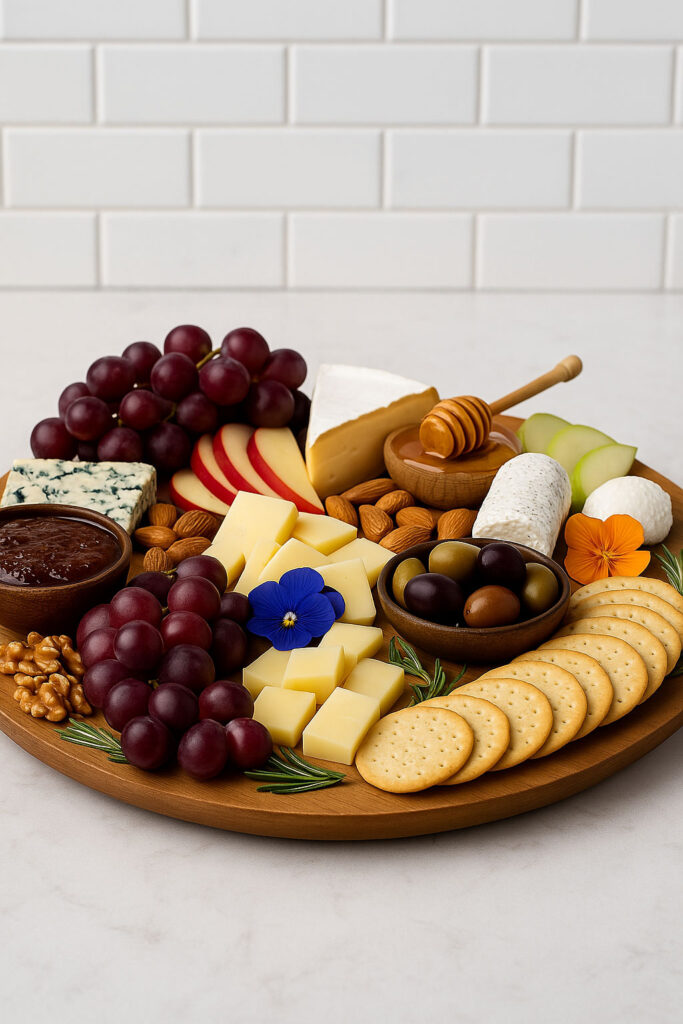
- Place cheeses on the board first, spaced out.
- Fill in with crackers, fruit, nuts, and condiments.
- Tuck herbs and garnishes in open spaces for color.
- Use small bowls for wet items like olives or jams.
- Let it look full and a little messy—it’s more inviting!
- Set out cheese knives and spreaders for soft cheeses.
Notes
Did you make this recipe?
Mention us @theallgal or tag us using #theallgal so we can see your creations! You can also leave a comment below!